Slideshow Widget

Archive for April 2014

Tutorial: How to Make a Banner


TUTORIAL: How to make a DIY Party Banner from RV Parties www.rvparties.blogspot.com/2014/04/tutorial-how-to-make-banner.html

Banners are a staple at our parties--but we get a lot of questions on how to assemble them! Here's our favorite way! Not pictured is the (relatively) easy part--cut out your banner pieces and hole punch the corners. I love this rectangle punch--it works well with ribbon. And here's a link to our favorite scissors.

 photo 140404-7899copy_zpsa23665a0.jpg

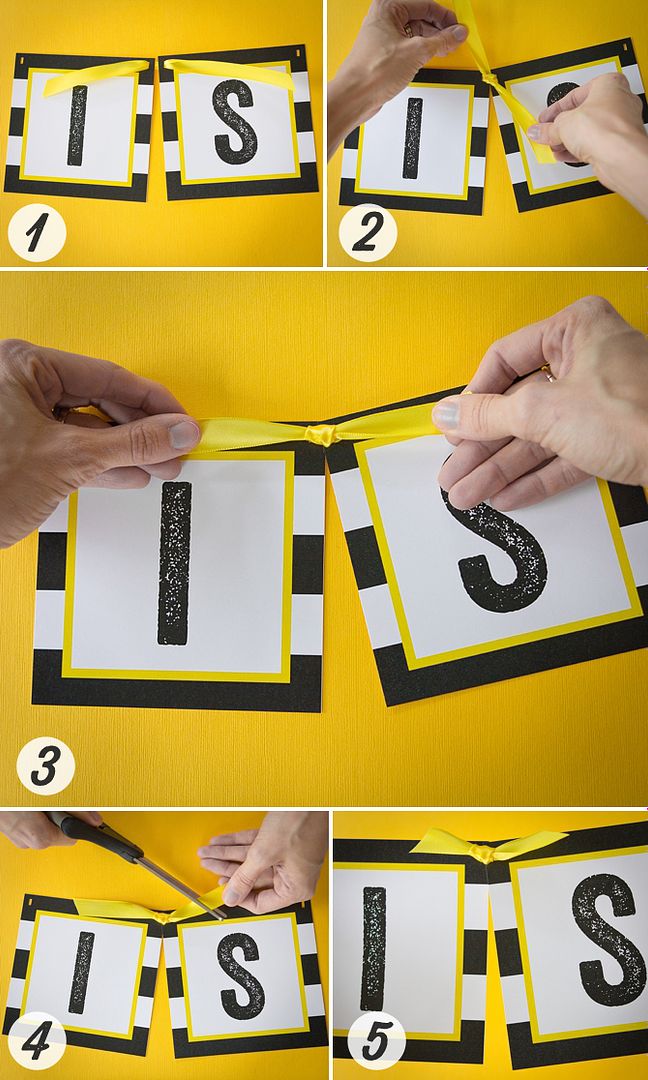
1. Take two cut out, hole punched banner pieces and slide ribbon through the closest sides.
2. Make the type of knot you'd make to tie your shoes.
3. Double knot it! If you don't like the way it looks, try again. 
4. Trim ribbon edges.
5. Admire your handiwork!


 photo Blog-8819_zpsbed50510.jpg

Throwback: Vintage Hot Air Ballon Shower!

Rachel is busy hosting a party for her 5-year-old (impossible! he can't be 5!) today, so I'm stopping by with another throwback for you. It's one of our favorites, perfect for bridal and baby showers and first birthdays! Parents love to say, "She's growing up up up!" and use this invitation and party pack. While we do receive some requests to change the colors, most people love it as is. I think you will see why below!  photo Blog_0551_zps295924a8.jpg 
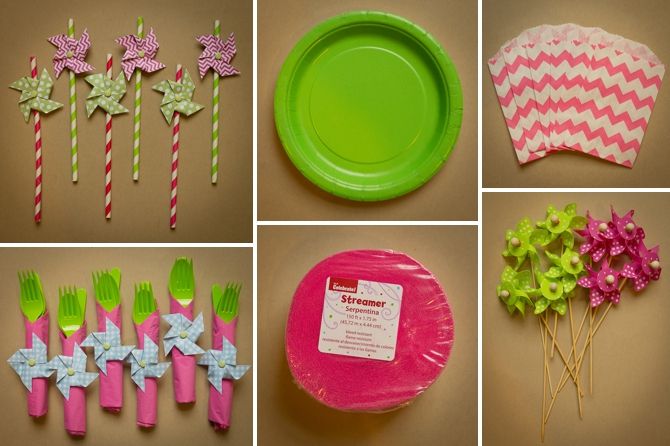
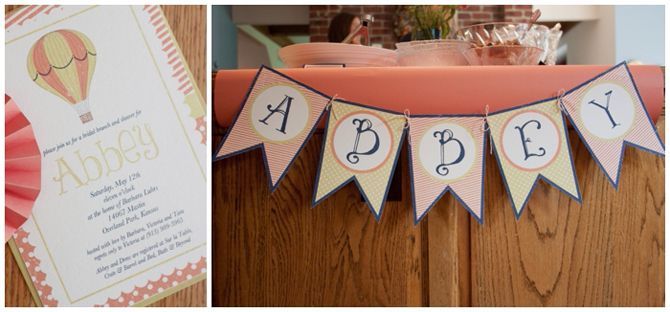
The invitation included both stripes and polka dots to make it extremely versatile and playful throughout the entire party pack. Everything matched chartreuse and papaya from Paper Source. photo Blog_0555_zpsd372205a.jpg Printing on luxe paper gave everything a watercolor look. We can't afford to print on luxe all the time, but there are some cases where it is just perfect. Like this party. photo Blog_0554_zpsb59218d6.jpg 
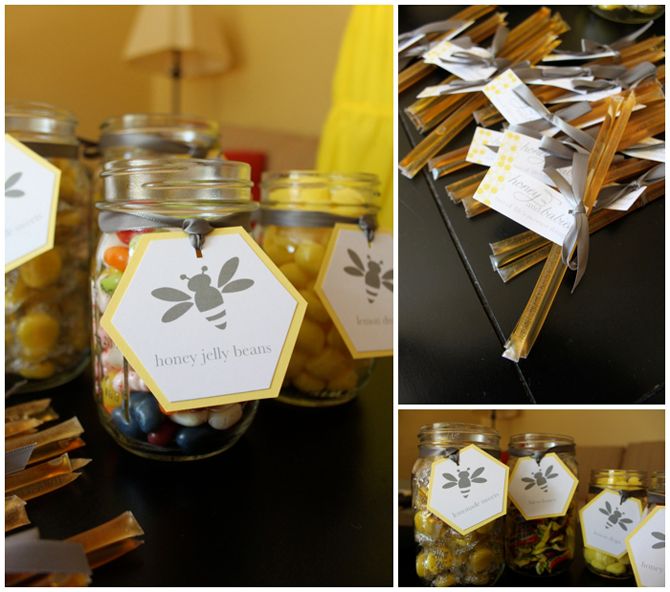
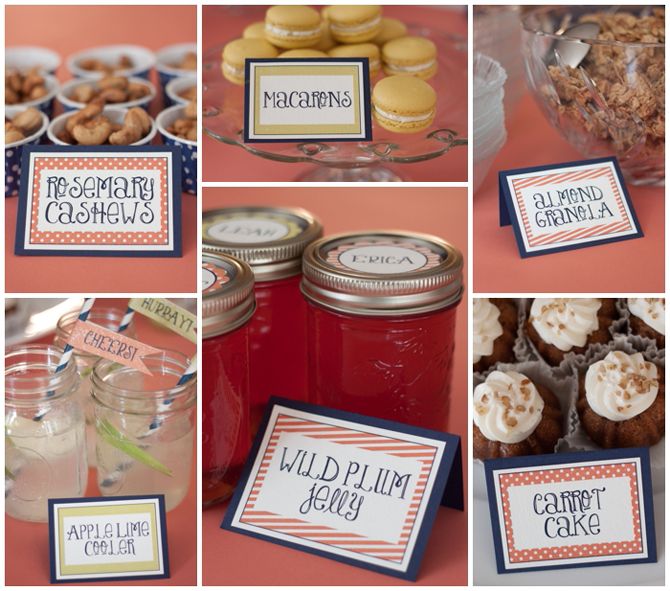
We had a pretty impressive spread of food and favors. It was very much a family and local Kansas City affair - the cashews, almond granola and wild plum jelly are family recipes while the macarons and carrot cake were handcrafted with love in KC. photo Blog_0552_zps04e6e3d5.jpg 
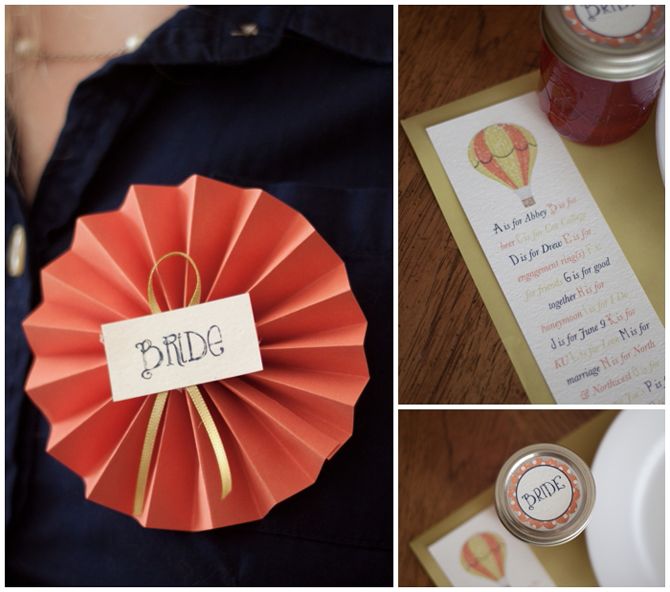
Hand folded pinwheels gave the bride-to-be an extra bit of pizzazz. (See the tutorial here!) There were customized place mats and alphabet lists too! photo Blog_0553_zpsd66480bc.jpg
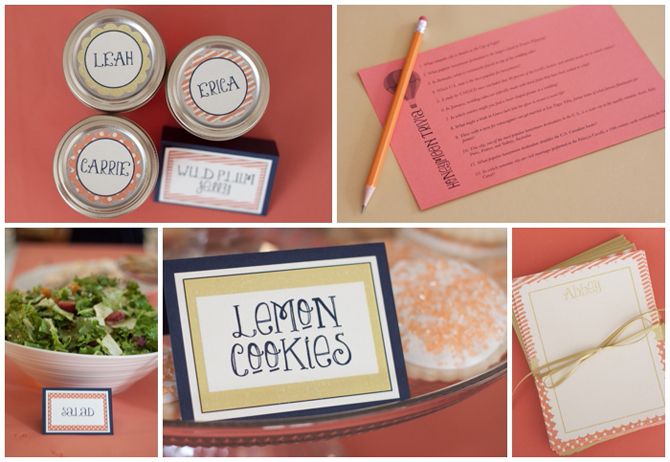
While the bride opened gifts, the guests tried to guess the answers to a honeymoon trivia quiz and had so much fun we included it in the party pack. We love to give thank you notes to the guest of honor!

Everything is available here in the RV Parties shop. Check out our great vendors as well - we work with the best of the best!

– Paper Designs: Victoria of RV Parties
– Navy Straws, Nut Cups, Orange Sprinkles: DKDeleKtables
– Macarons: Au Bon Macaron
– Mini Carrot Cakes: Three Women and an Oven
– Homemade Wild Plum Jelly: Co-host’s dad made them

Tutorial: Bone Folder and Paper Folding.

 photo Blog_0544_zps24b24b06.jpg 
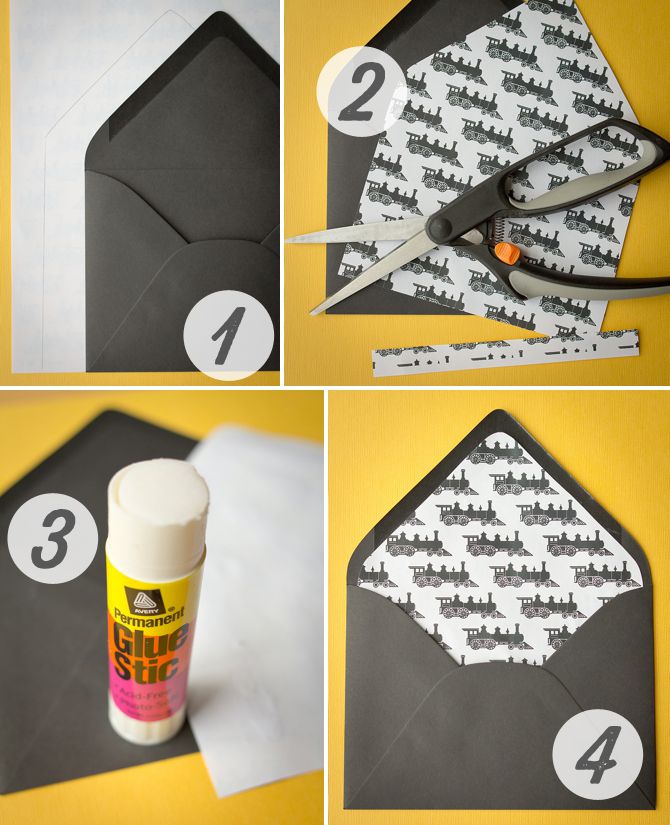
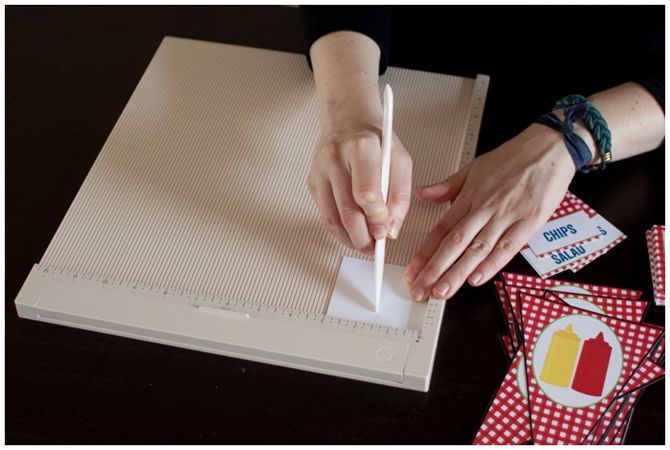
This barely counts as a tutorial, but it does count as one of our favorite tools of ALL TIME. Rachel told me at least three times to buy the Martha Stewart Scoring Board and Envelope Tool before I finally listened and purchased my own. Now I find myself reaching for it over and over again.  photo Blog_0545_zps94ba4d02.jpg 
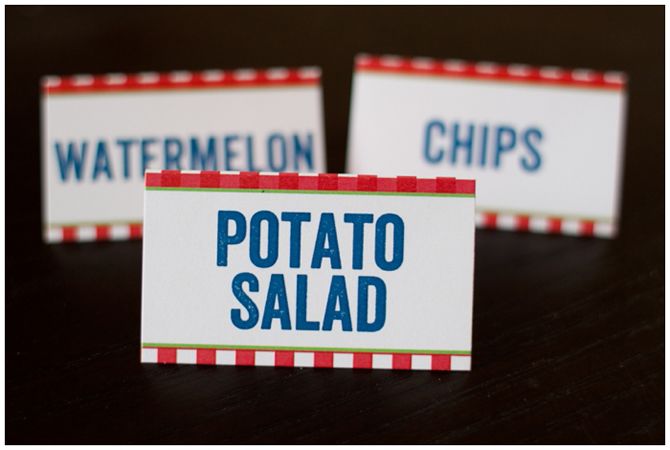
By sliding a food label or favor tag into the right angle of the scoring board, I can easily line up the cardstock and find the middle. As you can see in the top photo, there are many lines across the board so it's easy to find the center of any tag. One swipe of the bone folder and the tag is perfectly scored for an easy fold.

I haven't used it to make an envelope yet even though the instructions are included from Martha. You could get totally crazy and make your own envelope and then line it too. (Or you could eat a cupcake instead. That's more likely around here!) photo Blog_0543_zpsa0baf0ce.jpg
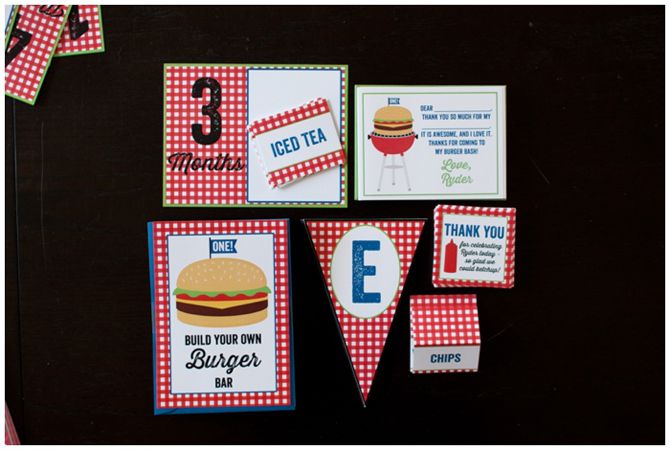
Cardstock can be tricky to fold neatly. It can break or crack across the top of the fold, so this actually is an inexpensive tool to make assembly faster and cleaner. Line up, score, fold, and attach to your perfect party favors.

PS. Should we list this party in the shop? It's one of our absolute favorites from this spring. We love custom orders like this!

Throwback: Bright and Girly Pinwheel Party!

This pinwheel party was one of my favorites--and slipped through the cracks here because, well, it was two days before I went into labor with baby boy #3. Whoops! I was so excited to help style this party for Miss Margaret and help her celebrate turning FOUR!

 photo Pinwheel_web-7669_zpsfccaa40f.jpg

The backdrop medallions were so fun to make and are still some of my favorite ways to fill up space behind a dessert table. I could not handle how much I loved the fondant and sugar cookie pinwheels. It's really amazing what people can do with delicious desserts!

 photo Pinwheel_web-7659_zps1ddf3b44.jpg

Using paper to decorate is always my favorite thing--I loved using the circle garland as a table runner! And we couldn't help but stick pinwheels on anything that we could! Straws, napkin rolls... they were just so easy and darling.

 photo Pinwheel_web-7635_zps5557236c.jpg

I am not sure why I ever threw a kids party without a coloring wall--it's always a hit and such a fun and cheap decoration! And obviously, we stuck pinwheels on the corners.

 photo Pinwheel_web-7717copy2_zpsa0bf3dea.jpg

Almost a year later, I'm still smitten by this party! Probably because I have three boys and will never plan a pink party... Love so much! Check out all the printables here!

VENDOR CREDITS:
– Printables, Costumes, Sugar Cookies and Party Styling: RV Parties
– Photography: Peanut Butter and Jenny Photography
– Fondant Pinwheels: Fondant Fantasy
– Rock Candy: Candy Crush Events
– Pinwheel Hair Clips: Princess Gumdrop
– Scallop Polka Dot Chocolates: Sweeties by Kim
– Sugar Cookies: J&J Bakeshop

And in case you are interested in throwing your own party--we have a set of extra decorations available in the shop for a limited time!

 photo 140415-8185_zpsdb770fd8.jpg

Free Easter Printable from RV Parties.

 photo Blog_0549_zps1df04cb4.jpg 
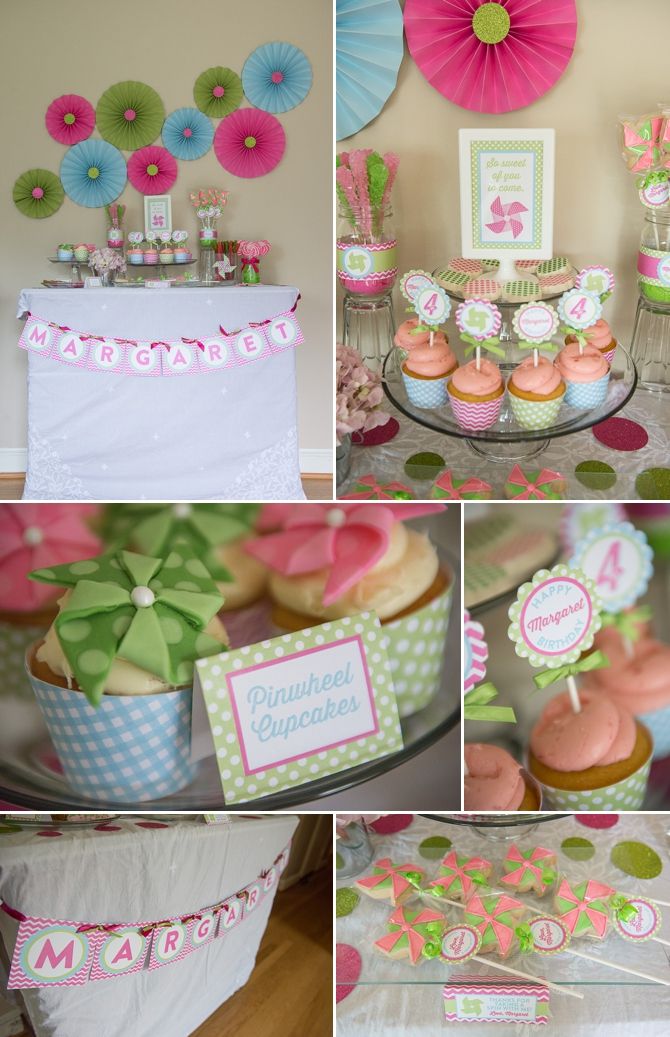
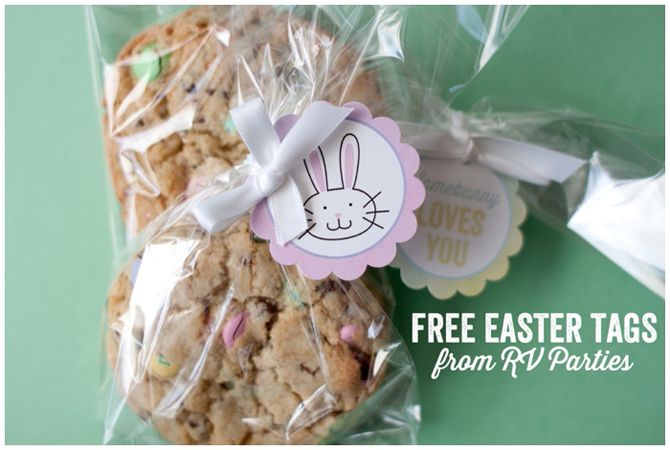
We're just hopping by with a free Easter printable for you! These sweet little tags are perfect for Easter treats for you and all your bunny friends. You can download them here and use them to celebrate. Twelve simple tags with water color backgrounds, and the friendliest bunny we ever saw.
 photo Blog_0547_zps32f9b1cb.jpg 
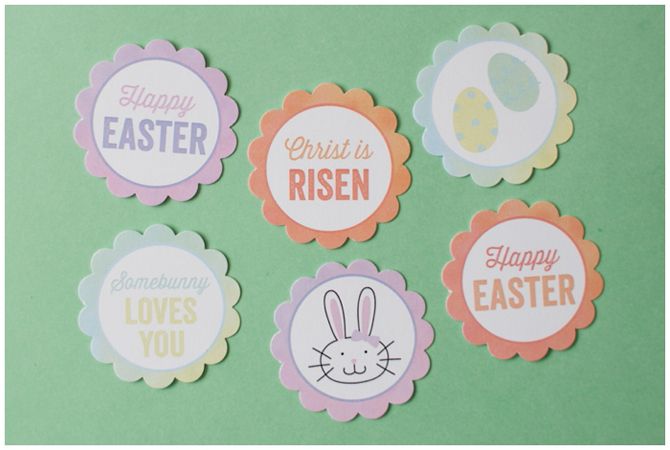
We loved that the pastel colors in the Easter M&Ms matched the tags so perfectly. The cookies are
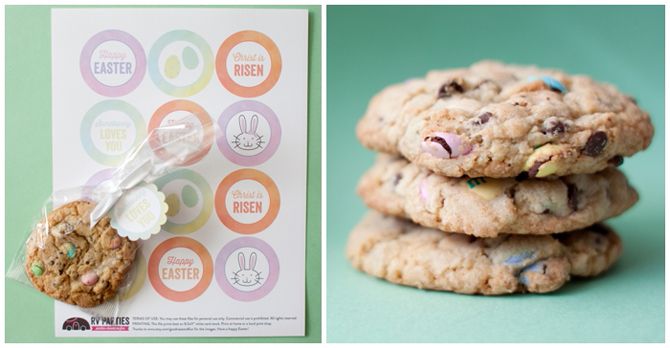
 giant M&M chocolate chip gems we found a couple weeks ago and couldn't wait to try for ourselves. (They are so good and definitely worth making giant!) photo Blog_0548_zps0d4b0e16.jpg The download is free for you to use. We just ask that you follow us on Instagram or like us on Facebook. If you're already doing those kind things, consider these tags our thank you. Happy Easter!

PS. All of our tags we punch with this 2" EK Success punch from Amazon. Literally thousands of punches, and ours are both going strong still! We have the "old package" style, but that new style sure looks nifty too!

Throwback Thursday: Mustache Bash!

The year was 2012. My second baby was turning one, which made him officially... a little man. It was the height of mustache party popularity, and it was so fun to plan this party. Mustaches continue to be an adorable theme, and its even easier to find matching goodies to go with them. This continues to be one our best sellers, and its easy to see why!

Highlights include:

  • many many mustaches and bow ties cut out on the silhouette machine
  • one of my favorite color schemes--navy, chartruese and aqua
  • adorable bowties printed with the pattern from the decor
  • my favorite Anthropologie inspired backdrop (tutorial here!)
  • lots and lots of mustaches!


 photo MustacheBash-37_zps50842c0b.jpg

These family pictures make me smile! The boys were so little.

 photo MustacheBash-7_zpsf00d412c.jpg

It wouldn't be a party without Victoria's famous sugar cookies--these still go down in history as some of my favorites!

 photo MustacheBash-20_zps6d54c90d.jpg

Basically, I slapped a mustache on everything. It was too fun not to!

 photo BirthdayBoy-1_zps6df61b58.jpg

For a more in depth look at the decorations, go here!

And for more on the food, go here!

And to buy the decor, go here!

Tutorial: How to Line an Envelope

Most of our party packs come with coordinating patterned paper--and there are tons of uses for it! We love using it to line trays, wrap around napkins and most recently--to line envelopes!

Tutorial: How to Line an Envelope rvparties.blogspot.com/2014/04/tutorial-how-to-line-envelope.html

I'm not sure what took me so long to hop on the envelope lining bandwagon--but I'm so glad I did! I'm obsessed with how these turned out. It's a quick and easy way to brighten the inside of your invitations and make them feel even more custom. And you probably have everything you need in your house! We love Paper Source envelopes and use them whenever we can!

 photo 140403-7861_zps7dc1dc92.jpg

Here's what you'll need!

Supplies...
--envelopes
--patterned paper
--pencil
--scissors
--glue (or another adhesive)

 photo 140403-7864copy_zps37efd029.jpg

1. Flip your paper over and trace your envelope. You'll want to make it about a quarter inch narrower than the envelope so it will slide easily in.

2. Cut out your liner. Chop off an inch or so of the bottom--you won't see that part, and that way you can slide it down so it won't cover up the lick-y part of the envelope. (Does that part have a name?) I was able to cut out a stack of four at the same time without making a disaster.

3. Cover the back of the liner in glue (or double sided tape). I preferred glue because I thought it would hold up best after someone sliced it open--you want your hard work to be appreciated upon arrival!

4. Slide the liner into the envelope! This part might be kind of messy and tricky--I found that it worked best to bend the liner towards me so it wouldn't touch the envelope until I had slid it down.

You can seal your envelopes the lick-y way--or use washi tape or a sticker to seal them, that way they'll open easier and the liner stands a better chance of not getting mangled. Here's to envelopes that are too pretty to throw away!

Throwback Thursday: Bumble Bee Baby Shower

 photo Blog_0533670_zpsbbd830d0.jpg 
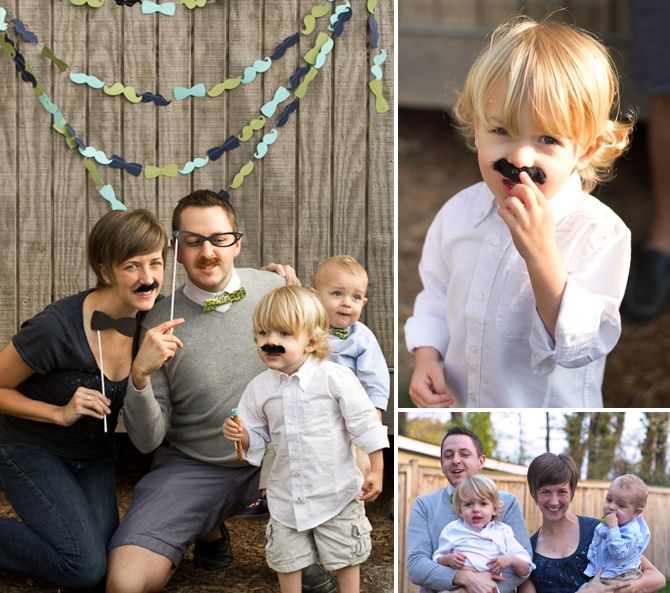
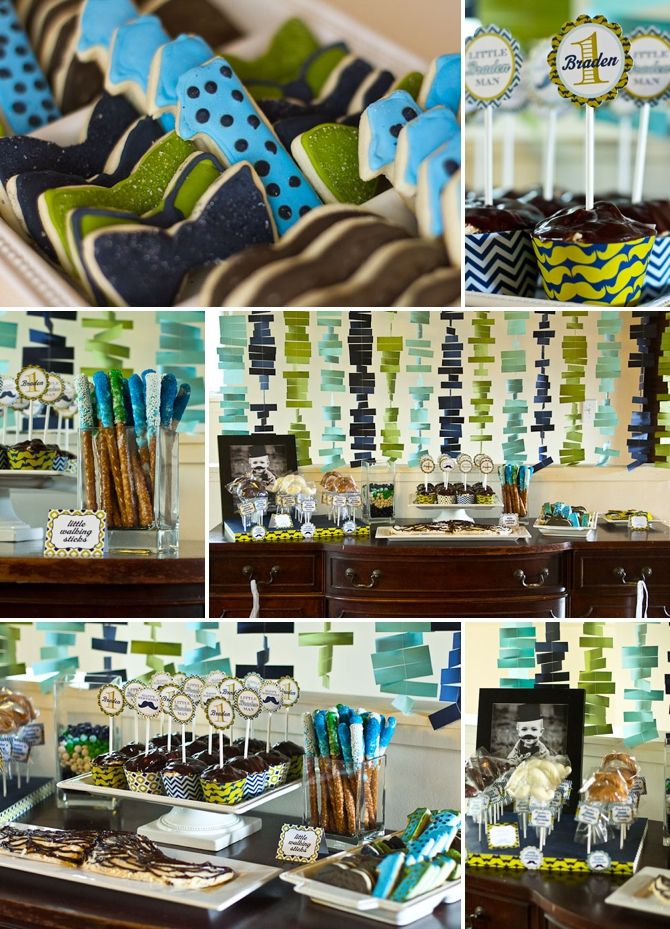
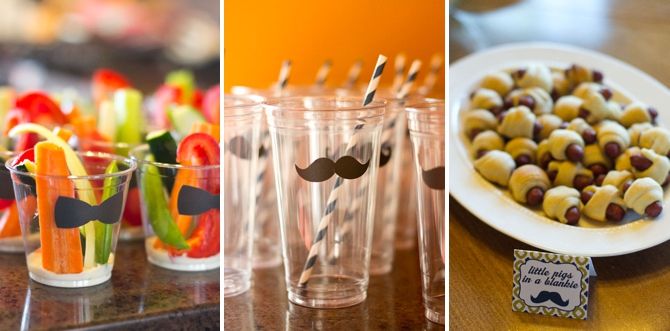
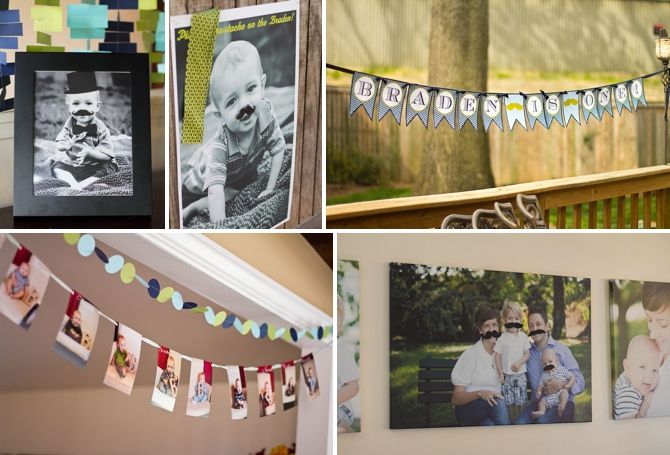
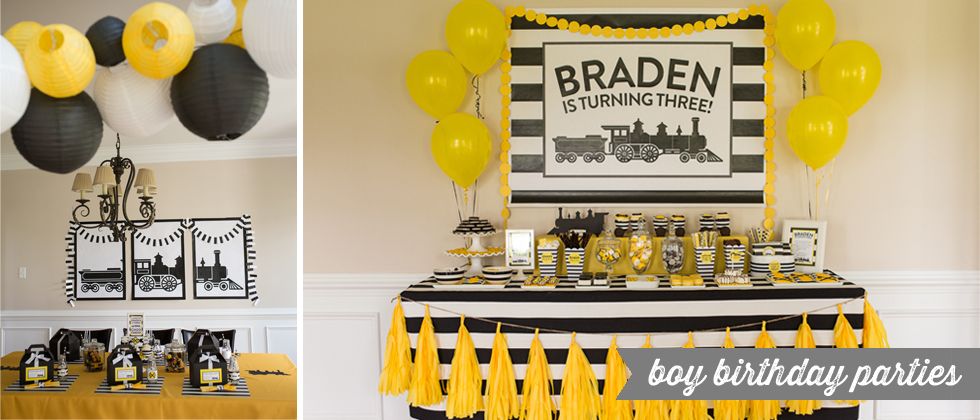
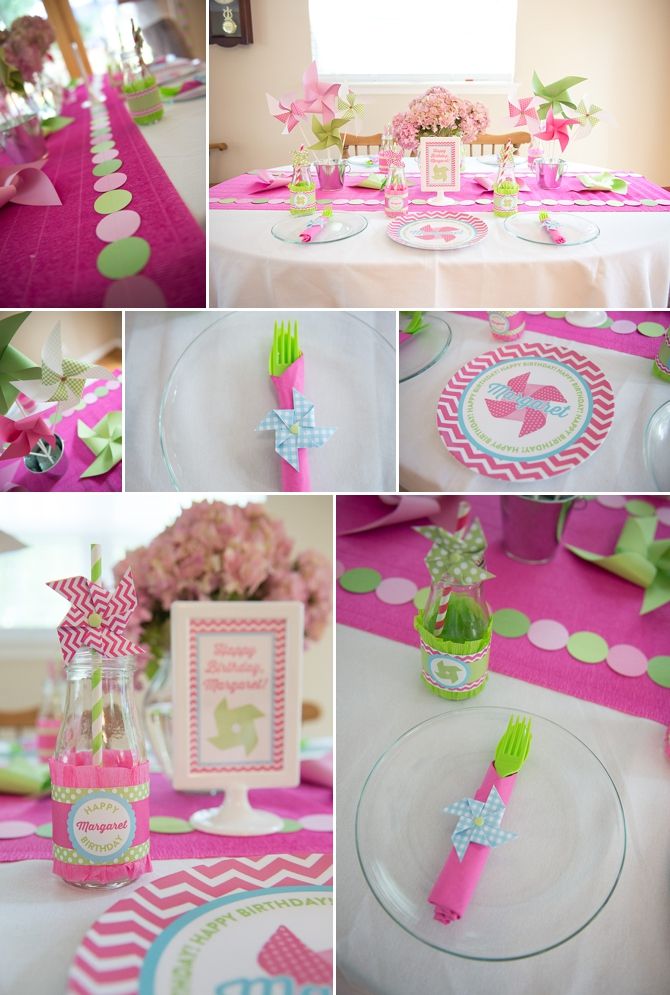
Some of our favorite parties have been featured on our own blogs (or elsewhere on the internet!), but we wanted to feature some Thursday "throwbacks" as well over here!

 photo Blog_0536670_zps31c905d5.jpg
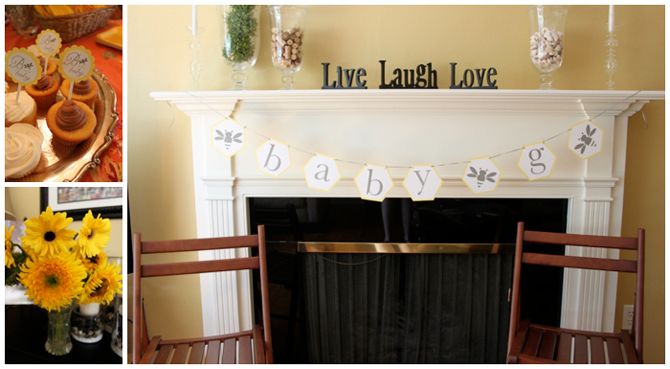
Here are the party details!
  • The party was for a dear friend and sorority sister. The first baby in our Kansas City group of friends.
  • But it could also be for a first bee-day. We've had several people order it for the "bride to bee" as well! Occasionally it is used for gender reveal parties with a "what will it bee?" theme.
  • We loved the soft gray and yellow, the simple bee graphic and the use of the font Nelly. Lots of swirls everywhere.
  • Our favorite little detail was totally the honey stick favor. These are one of the most popular items in our shop, available as an instant download and printed double sided labels.
  • We STILL love this party because it's so perfect for gender neutral showers. The baby bee theme is a clean classic. Available here in the RV Parties shop!

A Double Giveaway!

Hello RV friends!

You may have noticed we spruced up the branding--and we also took the plunge and joined Instagram! We're both big IGers on our personal accounts, so we aren't sure why it took us so long to hop on board for RV!

We've officially decided that Facebook is unreliable about sharing information--and that Instagram is a much easier way to share and interact with our customers. We're still posting on Facebook, but we're definitely catching more people over on Insta-G! We're really excited to be able to share what we're working on--and have an easy way for YOU to share with us when you use our goodies! We just love seeing how it all comes together.

To celebrate and encourage people to follow us... we're hosting a giveaway! (This is not an April Fool's Day Prank...)

 photo unnamed_zpsd1835510.jpg

There will be two winners--one for a plate and one for a complete party pack from the shop. You must follow @rvparties to win. You can enter TWICE! One entry for tagging two people in the comments of our giveaway post on instagram and one entry for regramming and tagging us. (We love the Repost app for regramming!)

So head over to Instagram and enter! We'll be picking a winner Friday.