
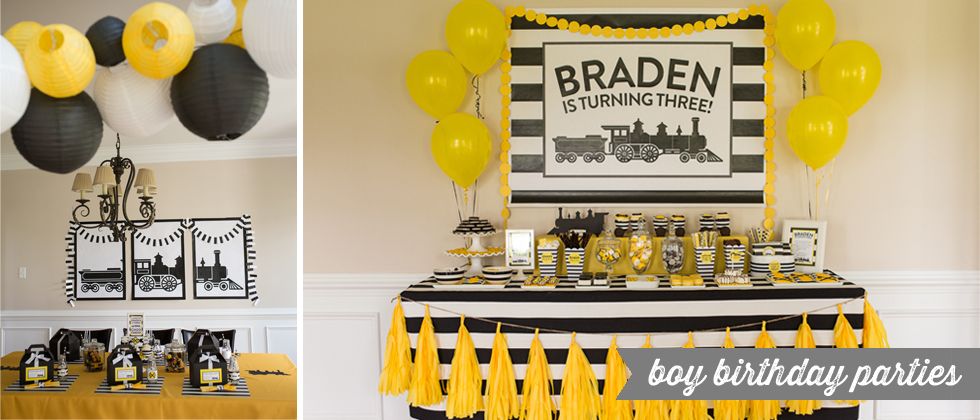
Most of our party packs come with coordinating patterned paper--and there are tons of uses for it! We love using it to line trays, wrap around napkins and most recently--to line envelopes!

I'm not sure what took me so long to hop on the envelope lining bandwagon--but I'm so glad I did! I'm obsessed with how these turned out. It's a quick and easy way to brighten the inside of your invitations and make them feel even more custom. And you probably have everything you need in your house! We love Paper Source envelopes and use them whenever we can!

Here's what you'll need!
Supplies...
--envelopes
--patterned paper
--pencil
--scissors
--glue (or another adhesive)
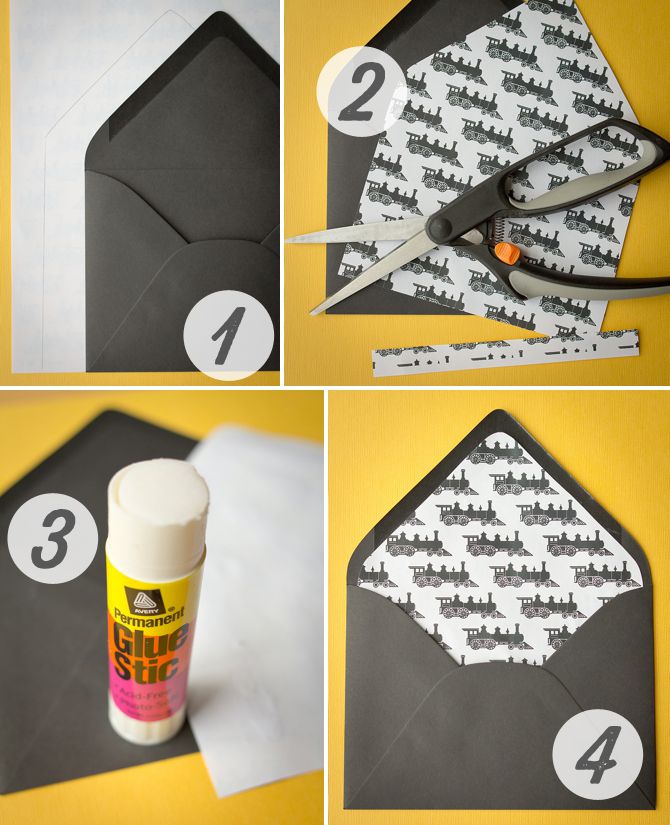
1. Flip your paper over and trace your envelope. You'll want to make it about a quarter inch narrower than the envelope so it will slide easily in.
2. Cut out your liner. Chop off an inch or so of the bottom--you won't see that part, and that way you can slide it down so it won't cover up the lick-y part of the envelope. (Does that part have a name?) I was able to cut out a stack of four at the same time without making a disaster.
3. Cover the back of the liner in glue (or double sided tape). I preferred glue because I thought it would hold up best after someone sliced it open--you want your hard work to be appreciated upon arrival!
4. Slide the liner into the envelope! This part might be kind of messy and tricky--I found that it worked best to bend the liner towards me so it wouldn't touch the envelope until I had slid it down.
You can seal your envelopes the lick-y way--or use washi tape or a sticker to seal them, that way they'll open easier and the liner stands a better chance of not getting mangled. Here's to envelopes that are too pretty to throw away!

Slideshow Widget


Meet Rachel and Victoria

The Etsy Shop

Connect


Fun! This does seem easier than I imagined. We'll see if I still say that when I start making them :) thanks for the tutorial!
ReplyDeleteWow, I really want to try this now. Thanks for the tutorial
ReplyDeleteWow, I really want to try this now. Thanks for the tutorial
ReplyDelete